
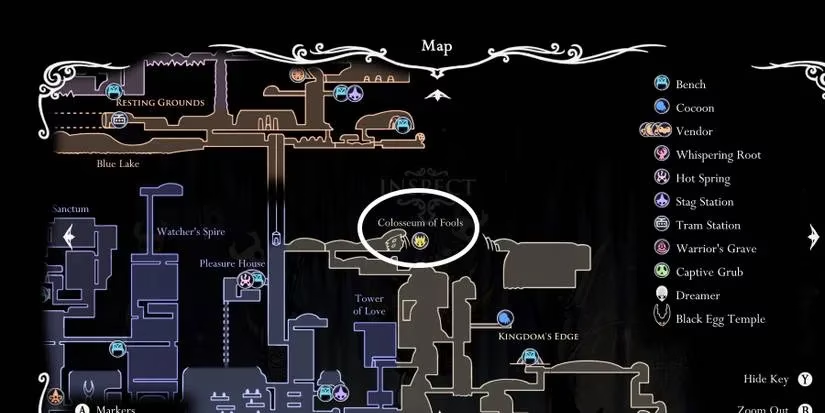
Hollow Knight may charm players with its adorable bug protagonists and hauntingly beautiful world, but beneath that whimsical surface lies a brutal test of skill. The Colosseum of Fools, perched high atop Kingdom's Edge, offers three increasingly punishing trials. The Trial of the Conqueror is the second of these gauntlets, and it's a doozy. Talk about a difficulty spike—this 17-wave battle royale separates the casual explorers from the true warriors of Hallownest.

Preparing for the Trial
Before stepping into the ring, players must complete the Trial of the Warrior. There's no shame in waiting until the Knight is properly equipped. The trial costs 450 Geo to enter, and that's just the beginning. A wise bug sharpens their nail, hunts down every Mask Shard, and collects as many Charm Notches as possible. The Pale Ore rewarded from this very trial is needed to fully upgrade the nail, so players will have to make do with one upgrade less on their first attempt. Once confident, pay the fee and brace for impact.
Choosing the Right Charms
There is no single 'best' charm build—it depends on play style, available notches, and how often the Knight takes damage. That said, some charms consistently shine. Grubsong is practically mandatory, generating Soul whenever damage is taken. Soul Catcher or Soul Eater help fuel healing spells. Fragile or Unbreakable Strength boosts damage, but eats up slots that could go to survivability. Quick Focus is a game-changer for faster healing, though its three-notch cost is steep. For one-slot fillers, Nailmaster's Glory rewards Nail Art users, while Thorns of Agony or Spore Shroom offer low-cost damage. And whatever you do, don't overcharm. The extra damage taken is rarely worth it unless the player is flawless.
Wave-by-Wave Breakdown
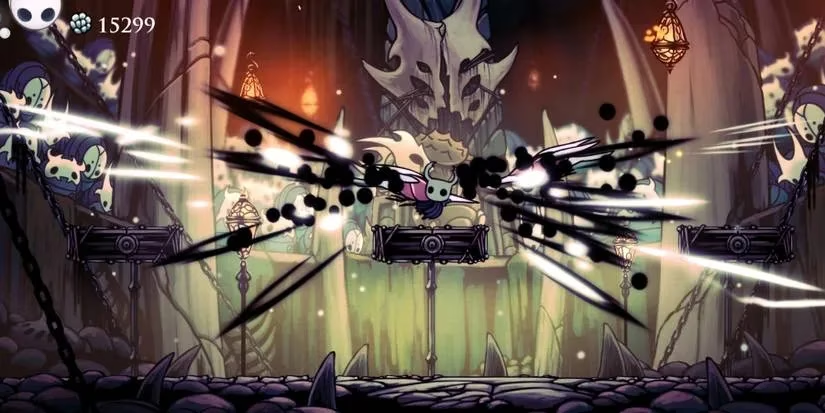
The trial consists of 17 waves, some with multiple stages that can overlap. Enemies enter from all sides, and the arena itself shifts—platforms appear and vanish, spikes rise from the floor, and the ceiling drops. Here's what to expect.
Wave 1
Starts with a lone Heavy Fool. Then two Winged Fools from above (left and right). Finally, a Winged Fool and a Heavy Fool from the center.

Wave 2
Three small platforms appear. Two Armored Squits attack from left and right—watch for their dual strike.
Wave 3
Ground becomes spikes. Two Armored Squits from opposite corners.
Wave 4
Two platforms vanish. A Winged Fool and an Armored Squit.
Wave 5
Six platforms rise. Stages come fast: first a Primal Aspid and Armored Squit, then another pair, then three Volatile Grizzers (they explode on death!), then two more Grizzers.
Wave 6
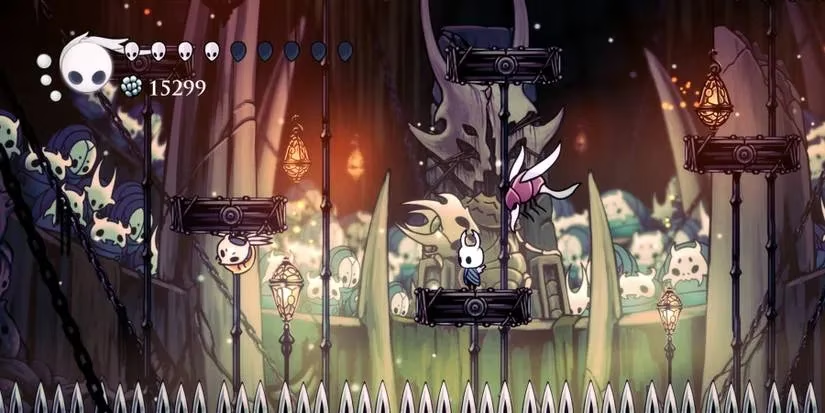
A central platform over spikes. A Heavy Fool charges from the right—jump at the right moment to send it off. Then three Belflies spawn above the platform. This is where many runs end. Hang on the left wall with Mantis Claw to avoid all explosions.
Wave 7
Platform shrinks. One Belfly tries to catch the Knight. Stay on the left wall.
Wave 8
Back to solid ground. Four Hoppers, then four more, then a Great Hopper.
Wave 9
Walls close in. One Great Hopper. Howling Wraiths makes quick work of it.
Wave 10
Ceiling lowers. A Grub appears—wait, no! It's a Grub Mimic. Don't be fooled.
Wave 11
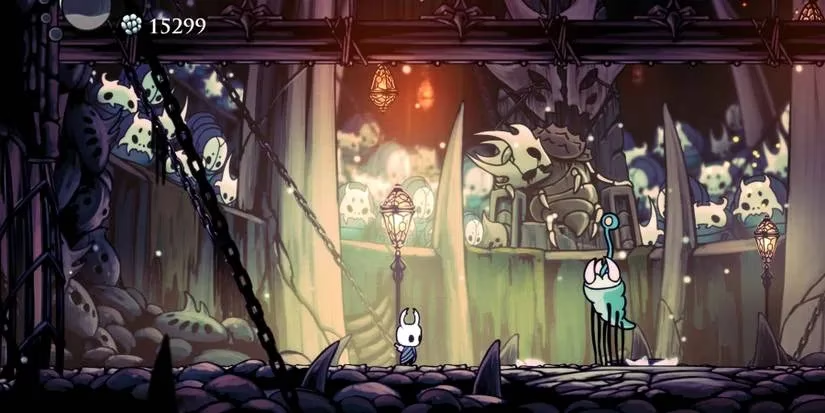
Ceiling lifts, central platform returns. Two Shielded Fools and a Winged Fool. Then a solo Winged Fool. Then another Winged Fool, a Heavy Fool, and an Armored Squit. Finally a last Armored Squit.
Wave 12
Walls close. A solo Heavy Fool, then a solo Winged Fool.
Wave 13
Spikes cover the floor—no safe ground. Cling to walls with Mantis Claw and attack mid-jump. Bounce attacks from above are effective. First an Armored Squit, then a Winged Fool. Then two Armored Squits.
Wave 14
Walls return to normal. Spikes remain, with three small platforms. Two Winged Fools (one each end), then a solo Winged Fool followed by two Armored Squits.
Wave 15
Arena briefly resets, then four small platforms rise. Four Battle Obbles (flying bowling balls), then two more. Spikes return, then three more Battle Obbles.
Wave 16
Ceiling drops to about 50% height. Four Battle Obbles at once. Stand directly beneath them to avoid projectiles.
Wave 17
Ceiling raises slightly. Two Oblobbles, one from each corner. Kill one, and the second becomes far more aggressive.

Rewards and Final Thoughts
First-time completion grants at least 2000 Geo and a chunk of Pale Ore—essential for nail upgrades. Subsequent runs only yield Geo. The 'Conqueror' achievement also pops. It's a nail-biter, but with patience, practice, and the right charms, the Knight will stand victorious. Hollow Knight is available on PS4, Xbox One, Switch, and PC.
Comments